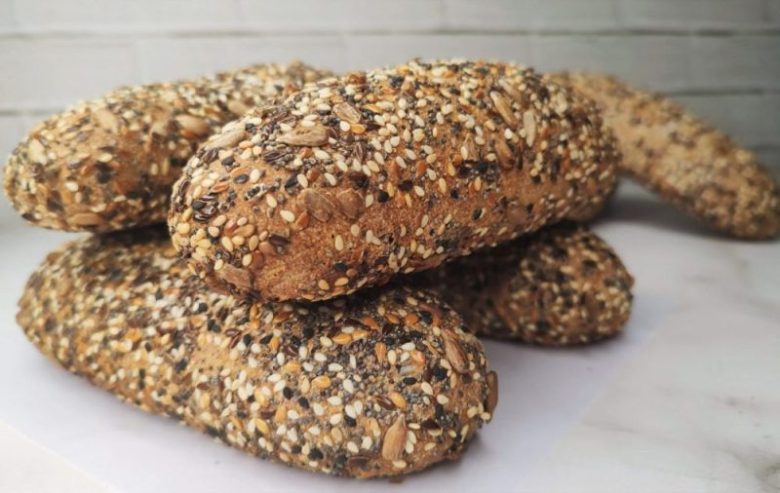
This week, Integralisimo proposes you to make a seed whole wheat bread. A simple recipe, with country style and flavor, without using sourdough or having a special oven in the comfort of your home. You will see that it is possible, without exhaustive preparations and steps to follow, to obtain an exquisite whole wheat bread for all occasions.
Although I love cooking, I must admit, I have no patience for long preparations. And this type of bread usually takes a whole day to prepare, since you have to make dough folds. Which would give rise to those famous alveoli in the bread crumb once baked.
Particularly, I love this type of bread and more when it comes to snacks, cold meat boards or sandwiches. However, I find its preparation somewhat tedious and frustrating because it is bread that lasts a short time at home. So, I set out to get a similar bread without too much preparation. Pay attention to little details that make a big difference.
Let’s talk a bit about the recipe:
At Integralisimo, whole wheat flour used is 100% organic whole grain, finely ground (unless otherwise mentioned). In general, depending on the brand, it can absorb more or less liquid. For this reason I recommend incorporating the liquids gradually. As a result, keep in mind that less volume will result in a smaller final product.
About the dough:
As a recommendation, before starting, prepare a previous dough or sponge. Although it is not necessary, it is a good way to ensure that yeast is in good condition, in addition to obtaining a better result in terms of texture as well. If you do not want to do it, another way would be to foam the yeast using a part of the water with the sugar.
The general dough is prepared from this previous dough or yeast foam, gradually adding the water until the necessary consistency is obtained and after kneading you obtain a soft, elastic and sticky texture. Remember that whole wheat flour absorbs liquids slowly compared to the rest of the flours in general.
Due to this sticky texture, it can be somewhat uncomfortable to handle. That is why if you have a kneading machine it would be great to avoid dirtying your hands. Therefore, it would only suffice to dump the dough into a well-oiled container with a lid. If you don’t have it, just cover it with a plastic kitchen bag or film (recycling an ice cream jar is always useful).
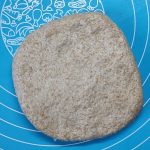
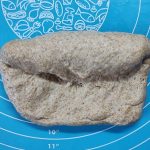
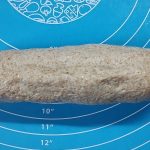
Once the dough is ready, it is left to rise until it doubles its volume. Consequently, it is processed to make 2 to 3 folds in the dough every 30 minutes or so (see photos). To do this, moisten the hand with water as many times as necessary before folding. Then it is stored in the fridge, so the dough cools and you can shape it easily.
About buns shaping:
For convenience, I make the dough the night before and assemble the breads the next morning. The way to proceed is simple, just turn the container over and the dough falls on its own on the work surface. It would be ideal not to use extra flour or just dust lightly. Although you will notice that when it is cold, it will not be necessary if you work it quickly.
Next, without kneading, with a knife or cornet, divide the dough into as many parts as you want. This time, I divided the dough into 6 equal parts, to get all the breads with the same size use a scale. Of course, if you want to obtain larger breads, you should divide by less quantity.

From this step the definitive form is given. To do this, we apply a simple technique, which consists of first stretching the dough bun with your fingers and without squashing it too much. Then, join the ends by pinching the closure of the dough to seal. Thus, roll dough is rolled to smooth and lengthen (see photos).
Optionally, seeds are placed in a wide bowl and each roll of dough is passed to cover them. Being a fairly wet dough, there should be no problem with it sticking, otherwise, spray with water to wet the dough and solve the problem.
About cooking:
Finally, once assembled, the breads are placed on an oiled oven tray. Pay attention that the closure of the dough is always facing down, so they do not open during baking, let rise until they double their size. Before baking you can make a cut along or crosswise with a sharp knife.
The estimated cooking time is relatively short, although it can vary depending on the size of the loaves and depending on the result you want. Given that to obtain crispy breads, you should extend its cooking for a few more minutes. While in soft breads, it would be convenient to remove them from the oven on time.
During baking it is recommended to place an oven-safe container with a little water, placing it on the oven floor. This way it generates humidity the first minutes of cooking and as a result the breads will have a whole wheat bread with a moist crumb and a crispy crust. The breads are baked at a high temperature, around 220-250 °C.
Do you have any doubt or suggestion? Write a comment at the end of this recipe 👇
Do not forget to follow me on social networks to know the latest news in whole grain recipes!
Visit my general site Locos Por La Comida where you will find all Integralisimo, Locos Por Los Dulces and Veganisimos recipes.


